


I made these 3 today, 2 are for my daughter's birthday and 1 is for me.
The first thing I did was to buy my tees and all the supplies.

Supplies:
For the Gray top: 1 tank top tee, your size
1 pkg. of extra wide double fold bias tape
Grosgrain ribbon, width of your choice around 1 yd
safety pin
For the 1st Black top: 1 tank top tee, your size.
1 1/4 yds of ecru lace
1 pin back
I small flower
Hot glue gun
For the 2nd black tee top: 1 tank top tee , your size
I pkg. wide organza ribbon
safety pin
You can choose any ribbon or trim you want to, just be use it can be washed either by machine or by hand.
Let's start:
1. Find the center in the back of the tee, and mark it with a pin.
.jpg)
2. Take your black bias and see how it is shorter on one side than the other? place the longer side to the back of the tee and the shorter side to the front and pin in place.


3. Once it is all pin around the neckline, sew in in place.
4. Make a bow, and with a safety pin add it to the front of the tee, anywhere you want it.


You can use any size ribbon you want, and since it is easily removed, you can change your bow, with your outfits or to fit your mood.
Now on to Black Tee number 1
1.Mark the center back , like you did with the gray one.
2. Sew on the lace to the top of the neckline, I went back and did a zig zag ,close to the top to keep it the lace from curling out.

The back is finished by turning the lace inward and sewing it in place.

If you want you can leave the tee just as it is, it looks pretty that way , but you can always embellish your tee.


Bows...retro or fancy it is all up to you.
you might even choose to make this pretty flower pin.

Here's how to make the flower pin. Check above for a list of what you need to make it.
1. Cut out a small circle out of cardboard, I used the price label which was on the tee, it was thick, and so it was a good choice for a backing.
Here is what I gathered to make my pin:

Cut out the circle.

The size of this circle is around 1 1/2 inches

Cut the black fabric, at least 1/4 larger than the circle.
Do a running stitch close to the edge of the fabric.
Put the circle cardboard in the center of the fabric and pull to gather it close.
Add a few stitches to the edge to make sure to your gathering does not come loose.

I used the remainder of what was left of the lace trim which I used for the top to make a pretty base for my flower.
I gathered the lace and pulled the tread tight to create a circle.

I sewed the ends close.

I hot glued the pin to the pretty side of the black base.

I glued the lace on top of the other side , than I glued the flower to the top of the lace.

This is the finished pin.
Let's do Black tee number 2:
1. Find your back center.
2.Take your Organza ribbon and start making pleats, I used a 1" pleat for all.

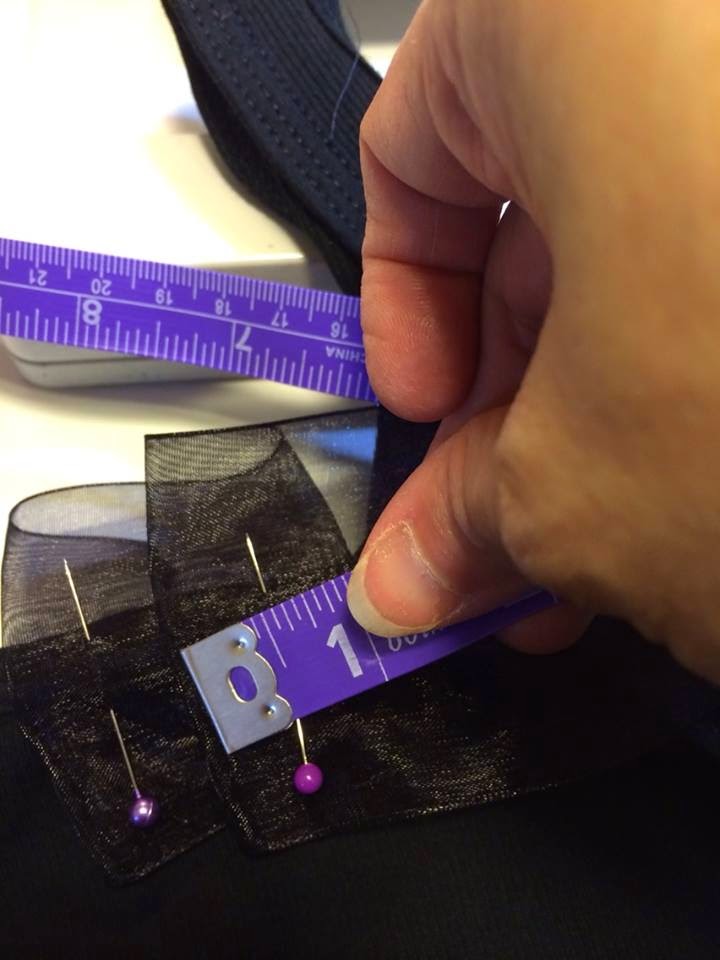
Go around , making pleats around the whole neckline.

3. Pin and adjust to your liking, this is how it should look once it is all pinned down.

4. Start sewing from your center back, be careful to catch all the edges, and keep them flat, if some do try to turn up use your finger to smooth it down.

5. This is how it will look once all the pleats are sewn down.

5. Now it looks great likes this, but if you are like me, you like to add a little fun to your clothes, so add a fancy bow...

In the front.
Or to the side.
This Tee can look especially elegant with the Organza bow cascading in the back of it.

Maybe give your top a cute retro look.

Anyway you choose to trim your tee it will be great, and best of all it will be YOUR CREATION, uniquely yours.
Please feel feel to ask any questions, I am new at tutorials so I hope this one is helpful.


No comments:
Post a Comment